Friday, July 15, 2011

Too hot for the oven

Can you smell that?  Awww... the grill is going again. It's been way too hot to cook inside, surprising for Minnesota, but we've been hit with a few streaks of the 90's. I know it's not as hot as where some of you live, just remember it gets -40* or more below zero here in the winter too!   We've been finding lots of meals to make on the grill this summer.  Not only does it taste wonderful, it keeps the house cooler too.  And who doesn't love pizza right?  I think we could eat pizza three times a week and never get sick of it.  Last summer we enjoyed taking the freezer pizzas and placing them on our pizza stone on the grill.  Really if you've never had grilled pizza you need to.  It's AMAZING!  We took the pizza stone inside for winter and used it once in the oven, and that was one too many times.  It ended up shattering, thankfully not until I took it out of the oven.  If you've ever bought one, they're not cheap so it wasn't something we ran out and replaced right away.  But we've missed grilled pizza this summer and I knew there had to be a way to make it without the stone.  I was doing some digging into how when I thought about our pizza pan.  We have one with the holes on the bottom I thought we could just place that on the grill.  And then I found it.  A mouth watering picture of grilled pizza with the delicious looking grill lines on the crust. I knew I wanted to make 'THAT' kind of grilled pizza.  A little more digging and comparing different techinques and we were ready to give it a try. 

So where do you start?  
First start with the homemade pizza crust recipe that I love so much. Really pizza crust in under 15 is unbelievable!  I love how it tastes too.  Mix it up and let it rise.  Then divide the dough into 4 equal parts.  Take your trusty dough roller or just flatten it out with your hands.  If you're a daredevil and have just washed your floors, give it a toss in the air and pretend you're in a fancy pizzeria!  Once you get your dough ball rolled out, place it on a greased cookie sheet.  I added cornmeal to the one in the picture to help get the dough off the pan when I needed it, but soon realized it came off just fine with the greased pan so feel free to skip that step!
Next gather your toppings. 
You'll need some sauce, cheese and a dish of olive oil.  The rest is up to you for what to add.  The kids wanted just pepperoni.  Mr. Bacon and I added some fresh sliced mushrooms and black olives to ours. 
Now it's time to head out to the grill!  Heat your grill to med. heat.  Mr. Bacon said he heated ours to about 375* give or take.  I don't think I'd heat hotter than this temp, lower is fine, it will just take a bit longer to cook the pizza.  Next take your olive oil and add a bit to your dough.  Spread it around. You want to make sure you coat it enough so it doesn't stick to the grill, but not enough so the oil is dripping off the dough. 
    
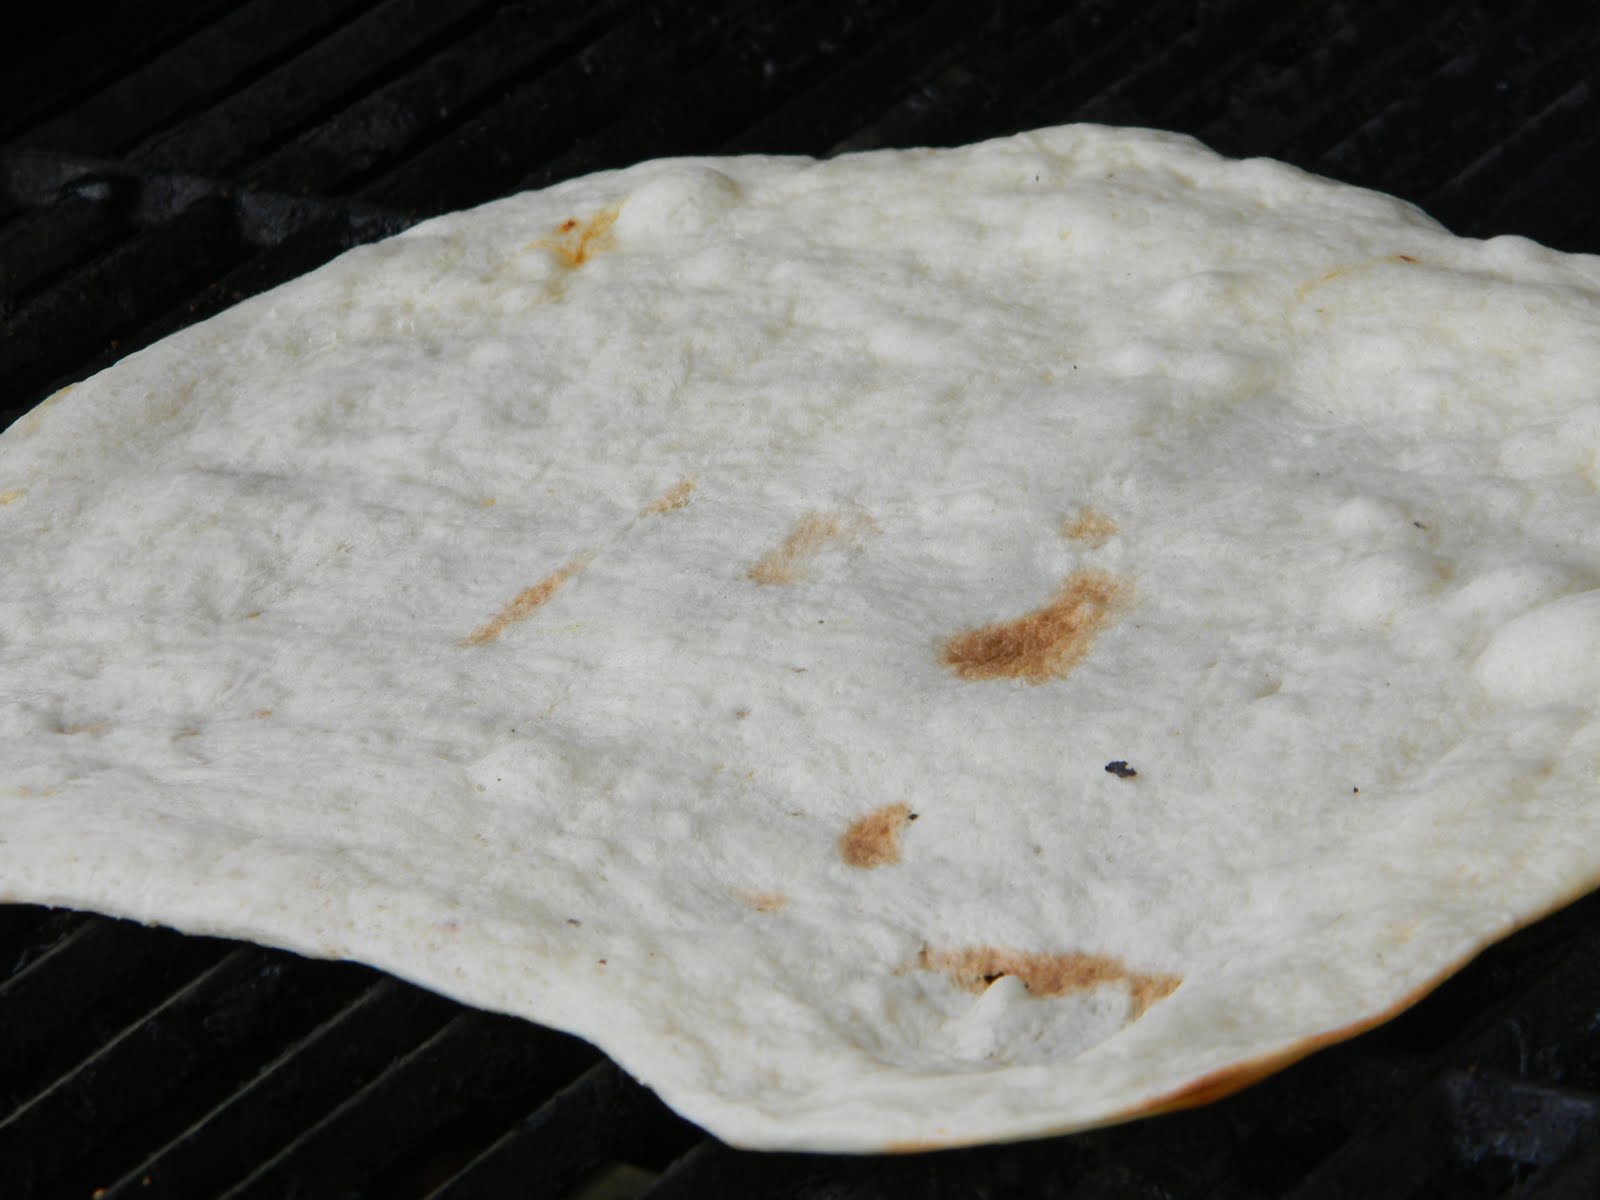
Once the dough is oiled, it's time to put it on the hot grill.  Gently pick up the dough. Be careful because it will stretch out. Misshapen dough is ok!  But dough with holes are super thin spots just makes it not look as pretty!  It also can make the dough burn.  Place the dough on the grill oiled side down. 
Close the lid of the grill.  After about 3-4 minutes, take a peak at your dough. When you start to see it bubble it's time to flip!  Now there is a trick to flipping the dough.  We tested out grill tongs, it didn't work.  They had too sharp of  'teeth' on the one's we tried and it just tore the dough apart.  Instead we opted to use our gigantic spatula.  It came with the pizza stone when I bought it.  It works wonderful.  Either will do the trick to flip the dough if you are careful.  If you only have tongs, try to find ones without sharp 'teeth'. 
 
 All flipped... OH look at those grill marks! (Sorry for the corner of the spatula, I blame Mr. Bacon!)
 
 Next toss on the toppings.  This step we found you want to work fast for.  For one because these pizzas cook fast, but mainly because you are sticking your hands into hot 375* heat!  Spread on some pizza sauce, add the other goodies and top it with cheese, then close the lid again. 
 
 After another 3-4 minutes take a peek at the pizza's.  At this point you are just wanting the cheese to melt.  Once it looks ooey, gooey and delicious, it's time to scoop it off the grill!  See our big pizza scoop! 
  Take it inside, let it cool for a few minutes and cut into slices. I like to top mine at this point with some fresh grated Parmesan cheese!  It's the perfect pizza dinner! 
 
It's the perfect pizza dinner! I hope you enjoy yours as much as we did ours!

Tuesday, July 12, 2011

Happy Birthday Bacon in My Pocket!

What a crazy wonderful year here on Bacon in My Pocket.  It's hard believe a year ago I took over my own little space of the web.  I have to say I've enjoyed it.  I love showing how easy it can be to make things yourself at home and save some money while doing it.  And I have to say a HUGE THANK YOU to my readers.  You guys make me want to come back and post more!   I hope you continue to enjoy Bacon in My Pocket and please feel free to pass this site on to others, I do appreciate it.

So in honor of the first birthday here, I had to do something special.  And what is a birthday without some cake right?!  I must be crazy to make cake, after all I will be eating a lot of cake this month with Bacon Jr. and Little Boy Bacon's birthdays next week.  But I've been wanting to try this recipe for a while now and really, can one eat too much cake?


 Rainbow cake in a jar:


What you need:
White cake mix (feel free to make your own. I managed to buy a bunch on clearance after Easter that I'm still using up)
8oz glass jars (half pint size)
food coloring
frosting

Pretty easy right!
Start by washing your jars and letting them dry completely.  Dig out 6 small bowls and your food coloring. I found that I prefer the food color paste to the liquid drops.  They seem to give a better color when I use them. 


Mix up your cake using the directions on the box.  Preheat your oven to 350* also. Once the batter is all mixed up, divide it amongst your bowls.  You don't have to have the same amount in each bowl so just dump some in. 
 
 Next add in your food colors. I did the colors of the rainbow.  Ok so they are more a pastel rainbow, I found out I'm running low on food color paste and had to mix some colors to get what I needed. 
 
 Then it's time to add the batter to your jars.  I did spray my jars lightly with cooking spray before adding the batter.  I added a heaping teaspoon (the kind I eat my cereal with, not a measure spoon) to each of the jars, one of each color.  I just dumped them in and didn't matter how they laid in the jar to make stripes or anything. The only thing to keep in mind is not to fill the jars beyond half full or else they will rise extremely high above the jars and might even bake all out of them making a huge mess. 
 Aren't they pretty!
 Next place them in a shallow baking dish, I used a 9x13 pan.  Add in water until you reach about 1/4-1/2 inch in the bottom. This will help prevent the glass from breaking in the oven.  Place them in the oven for about 30 minutes.  The tops of the cake should spring back when touched when they are done just like baking a regular cake.  Now this is the best guess at how long to bake them for, you'll have to adjust cooking times to suit where you live.
 Here they are fresh out of the oven!  Don't they look amazing just like this.  I took them out of the water and let them cool.  They will drop back a bit into the jar when they are cooled so it's ok if they stick over the top right now.  Once they are cooled you can add your frosting and sprinkles!  What is a cake without some sprinkles right?   I decided to pipe on the frosting but you can just spread it on with a knife too. 

HAPPY

BIRTHDAY
 
 Bacon in My Pocket!

Don't they look great!  What a fun way to have some cake and impress someone too.  They kids were excited that we will be having rainbow cake after dinner tonight.  Of course I had to sample one first just to make sure it was safe to eat! Hazards of the job right?
 
 A huge THANKS again for all your great support over the past year! I hope to continue to bring great ideas, tips, tricks and recipes that you can use to keep some more of that bacon you bring home in your own wallet!

Sunday, July 10, 2011

So about that coffee shop?


Remember a while ago when I talked about buying a coffee shop?  No we didn't buy one, and no one moved into the old shop so we still have no coffee shop in town.  That's defiantly a good thing for my budget though!  But I have found I am addicted to my morning cup of joe.  And it has to have creamer in it.  Not just regular creamer, I prefer the flavored liquid kind.  But once again it's one thing I hate to pay for because it's not cheap.  We do buy the big bottles of liquid creamer but they only last about 2 weeks. It's not a huge budget blower, but I wondered once again if I could make it cheaper.  And so my recipe search continued.  I've tried a few but I think I've found one that is pretty yummy!  And thankfully it doesn't require much work.  Another good thing about it is there are lots of variation you can make from it!


So what do you need to get started?  Really all you need is one can of sweetened condensed milk (not evaporated milk) and milk.  That's it!  Anything else you add is just for flavor.   I wanted to try out the cinnamon bun so I added in vanilla, almond and cinnamon.  
 First take your your sweetened milk (14oz can)  and pour it in a bowl, Next fill up your empty can with milk.  Yes all the way to the top, and no I didn't even spill!
 Take out your handy whisk and mix away!
 For cinnamon bun, I added 1 teaspoon vanilla extract, 1 teaspoon almond extract and 1 tablespoon cinnamon. This was almost too much cinnamon for me, next time I'm cutting it back to 1.5 tbsp.   Mix well again.  I poured everything in a quart jar, secured the lid and gave it a good shake.  If you prefer not to have so much cinnamon floating around in it, you can line a strainer with a few coffee filters or cheesecloth and strain it out before storing it too.  
It tastes wonderful!  Just like the cinnamon creamer we buy at the store!  I love when I can make things for cheaper than I can buy them.  Really it's not much more cost than a can of sweetened milk.  You can store this in the fridge for 2 weeks if it lasts that long.

Interested in some other varieties?  I haven't tried these out yet, but I thought I'd post the recipes I found.  If you try one out, I'd love to hear how it turned out!  Add any of these to the base recipe:


Vanilla 
     2 Tbsp vanilla extract

Chocolate Almond
     2 Tbsp cocoa powder
     1 teaspoon almond extract


Cappuccino
      1 teaspoon almond extract     
      1/2 teaspoon orange extract


Cinnamon bun
      1 tablespoon cinnamon  
      1 teaspoon vanilla extract
      1 teaspoon almond extract

 Chocolate Raspberry
      2 teaspoons cocoa powder       
      2 tablespoons raspberry syrup

Pumpkin pie
     4 teaspoons ground cinnamon
     2 teaspoons ground ginger
     2 teaspoons ground nutmeg
     1 teaspoon ground cloves
     1 teaspoon allspice (optional)

Peppermint Mocha
     3 tablespoons cocoa powder
     1 teaspoon peppermint extract


Honey Vanilla
     1/4 cup honey
     2 teaspoons vanilla 

Pumpkin spice
     3 Tbsp pumpkin puree (not pie filling)
     1 tsp pumpkin spice
     1 tsp vanilla
  
Hazelnut
     2 tablespoons hazelnut syrup

Wednesday, July 6, 2011

Mom's busy! Have a TV dinner.

What? Did Ma Bacon just suggest a TV dinner? Aren't those expensive and unhealthy?

Guess what, I've been busy lately!  Hard to believe right?  Honestly most days I'm not sure when one ends and the next begins.  So I've needed to take some steps to help out around the house during this busy time.
Why am I so busy (besides running a household and raising 4 kids!) I've decided to take on the challenge of staring my own etsy store.  EEK! It's a big task, but I love sewing and making things besides just cooking.  And I thought perhaps a little extra bacon in my pocket would be nice, especially going into Christmas season.  What, it's not Christmas season you say? Sure it is, Christmas is only 171 days away!  So add one more thing to my busy plate.  If you are interested in taking a peek, feel free to click on the banner below or here.  I've just started so hopefully there will be many more wonderful items added to my store if time allows.  But it's a start anyway.


 So I've been sewing away making things.  And time happens to slip away from me and before I know it, it's dinner time. Again. We need to go grocery shopping bad, it's been 3 weeks since our last trip.  I also have no set meal plan so we've just been winging dinners.  A very dangerous thing, but luckily we've managed to eat out of our freezer and pantry without making extra tips to the store!   Mr. Bacon was off working and the kids were hungry, and I needed to think fast.  The muffin pans for lunch the other day were a success so I thought, why not for a special treat for dinner!  The kids were ecstatic!  They even got to eat their 'TV dinners' in the living room in front of the TV.  Ok I'll admit it was because I had my sewing stuff all over the kitchen table but they didn't complain.  We turned on a movie and they happily munched away.  So what did I put in the TV dinners?  I was under orders from Bacon Jr it couldn't be lunch stuff, lets just say we compromised! 


Mini peanut butter sandwiches cut with the little star cutter, chips, pizza puffs I had in the freezer, strawberries with cool whip, and in Little Miss Bacon and Little Boy Bacon's cut up hot dog with ketchup, and Bacon Jr (since he doesn't like hot dogs) tortilla's with cheese and pizza dipping sauce.  Another successful dinner!

Tuesday, July 5, 2011

It's been a Berry Sweet year!

This title seems very fitting for two reasons, one our strawberry garden has blessed us with over 1000 berries this summer (yes Bacon Jr. has been keeping count!) and because July marks Bacon in my Pockets birthday!  It's hard to believe that it has been a year since I started out on this blog journey.  I looked back when I made my first post on July 12th, and I think I'll plan something special for that day!  You'll have to wait and see what I have in store for the big day.  For now, lets focus back on those berries! 


 Three years ago when we started our garden we were blessed with strawberry plants.  Friends of Mr. Bacon's parents were tearing out their strawberry patch and we managed to save them!  They are June bearing only plants (they will only produce berries for about a month in the early summer) which was fine, free is free right?!  To my surprise they transplanted very well and each year we've gotten quite a lot of berries from them.  This year was no exception.  But what to do with them all? Besides eat them of course! Last year I made some yummy strawberry jam with all the berries.  Three batches of it actually, which makes quite a few 8oz jars.  We still have lots left and I wanted to make sure they get eaten so I decided to pass on making more this year.  I have been freezing most of them to use later.  Daily I've been cleaning the berries and cutting off the tops and laying them whole on a baking sheet.  Then I toss them in the freezer for a few hours.   Once they are frozen I've been placing about 80 or so in a bag and food saving them. Why 80? I really don't know but it sounded like a good number!

However, I didn't want to freeze all of them.  So what can I make with strawberries? Shortcake, ice cream topping, strawberry muffins... and pancakes!  We decided to have a pancake night for dinner and I couldn't wait to add these fresh strawberries to them.  I crushed up about a half cup of berries. I just placed them in a container and took out my handy potato masher and started squishing.  Oh word of caution, make sure you're not wearing anything pretty, strawberry juice can get everywhere and it doesn't like to come out of clothes, or so I've heard.
 I mixed up a batch of pancake mix using my trusty homemade mix (you can find it here).  Once it's all mixed up I added in my smashed strawberries and gave it one last mix. 
 Place the batter on a medium heat griddle.  Little Miss Bacon loves 'baby' pancakes so I always make up a bunch for her.  Anything to see that big smile before she takes a bite.  Once they become bubbly on top, flip them over and continue to cook until golden brown.  
 And what would go good with strawberry pancakes?  Strawberry shakes!  I froze some of my homemade yogurt in those fun little cubes I use to make Bacon Bit's food. 
 I tossed them in the blender along with strawberries and about 1/3 cup milk. 
 And to make it creamier, a few scoops of ice cream.  Shhhh.. don't tell anyone, it's my secret ingredient!
 Blend it up until it's smooth and there you have it... delicious strawberry shakes.  Garnish it with some more berries, cool whip if you happen to have some and a straw.  The perfect companion for the strawberry pancakes!  And yes they were as good as they look. So go ahead and make some for yourself! 
Trust me, they won't last long! 

Wednesday, June 29, 2011

Whats for lunch? What's for dinner?

Some days I just DREAD those questions.  I don't know, let me find my menu list...humm.. nope that doesn't sound good. What else is in the cupboards?  Sound familiar?  But for once, I had it all planned out. I had a super cute idea for the kids lunch which I knew they would love.  And dinner I was actually looking forward to what I had planned. Mainly because it was one of those delicious bacon wrapped pork loins I told you about here. 


Lets start with lunch.  Since schools been out for three weeks now (yes I've survived 3 weeks so far, and I haven't started counting when they go back yet, so that's a good sign that we are having a lot of fun!) I wanted to do something fun for lunch time.  I've seen this idea a lot of places that involve muffin tins.  You fill up each cup with a different item and VIOLA! easy lunch!  My kids love the idea of 'snacks' for lunch  or dinner so I knew they would gobble up this idea and they did.  I had fun finding different things to put in each cup too.  We have decided to try to make this a once a week lunch adventure too. If you are wondering there are PB crackers, cheese, skittles, pepperoni, strawberries and apples.  Little Miss Bacon had yogurt in her's since she doesn't eat cheese. I know, who would have thought there were kids out there that don't like cheese!


So we have lunch covered, one down, one to go!   I relaxed all afternoon with the relief of knowing what I was making for dinner.  It was nice. So about 4 pm I went and dug out the pork loin from the freezer so I could start on dinner.  Ok so it was kinda late to get started, we got busy playing and the day slipped away from me so I had to thaw the pork in the microwave.  I tossed the package of frozen pork in the micro and started in dicing my potatoes.  BEEP, BEEP. Meat's thawed.  Took the package out of the microwave and learned a good lesson the hard way!  I didn't defrost pork loin, I defrosted pork CHOPS. UGH.  There is a very good reason why when you buy foods in bulk and food save them and stick them in the freezer you should label them.  Why we didn't write on them like we always do I don't know.  I blame it on lack of sleep and mommy brain!

So now what am I going to do. I could attempt to do bacon wrapped chops, sounds good, but not as good as loin.  I decided barbecued chops sounded good.  Mr. Bacon wasn't to be home from work for a while yet, and lets face it my grilling skills are no where near what my baking skills are so grilling was out of the question.  I decided to bake them in BBQ sauce.

The pork chops were the easy part- place some BBQ sauce on the bottom of my pan, lay in the chops, cover with sauce.  Place in 350* oven.  

  There that wasn't hard!  Now what do I do with these potatoes I already diced up?
  
Honestly I was thinking that twice baked potatoes sound awesome to have with these chops.  But that takes along time to make.  And I already have a bunch of cut up potatoes.  Then the light bulb went off!   Why not make the diced potatoes with the twice baked ingredients on them?!  Yes sometimes the brain works, it just takes some time. 
 
 I dug though the fridge and pulled out what I normally place in a twice baked potato.  Milk, sour cream, ranch dressing, butter (melted), cheese and bacon.  Well I didn't have cooked up, crumbled bacon so I improvised with some 'Bacon,Bacon' from tastefully simple I had in my cupboard.  I will tell you I didn't measure anything. I just dumped and poured until it looked good. I was pressed on time to get these in the oven and have them done in time to have with dinner.  So if you are going to try this, you'll just have to wing it and use your best guess.  I poured  all the ingredients in a bowl and mixed well until everything was coated.  Then I tossed it in a well greased 9x13 pan and placed it in the oven too. 
 Oh and because I'm a super awesome good mom, I put some potatoes in a separate baking dish and put my usual spices on them with some oil since I knew Little Miss Bacon wouldn't come near my others!  She was very happy and ate everything in her 'special' dish! Which I was happy with since it was a whole potato cut up in there!
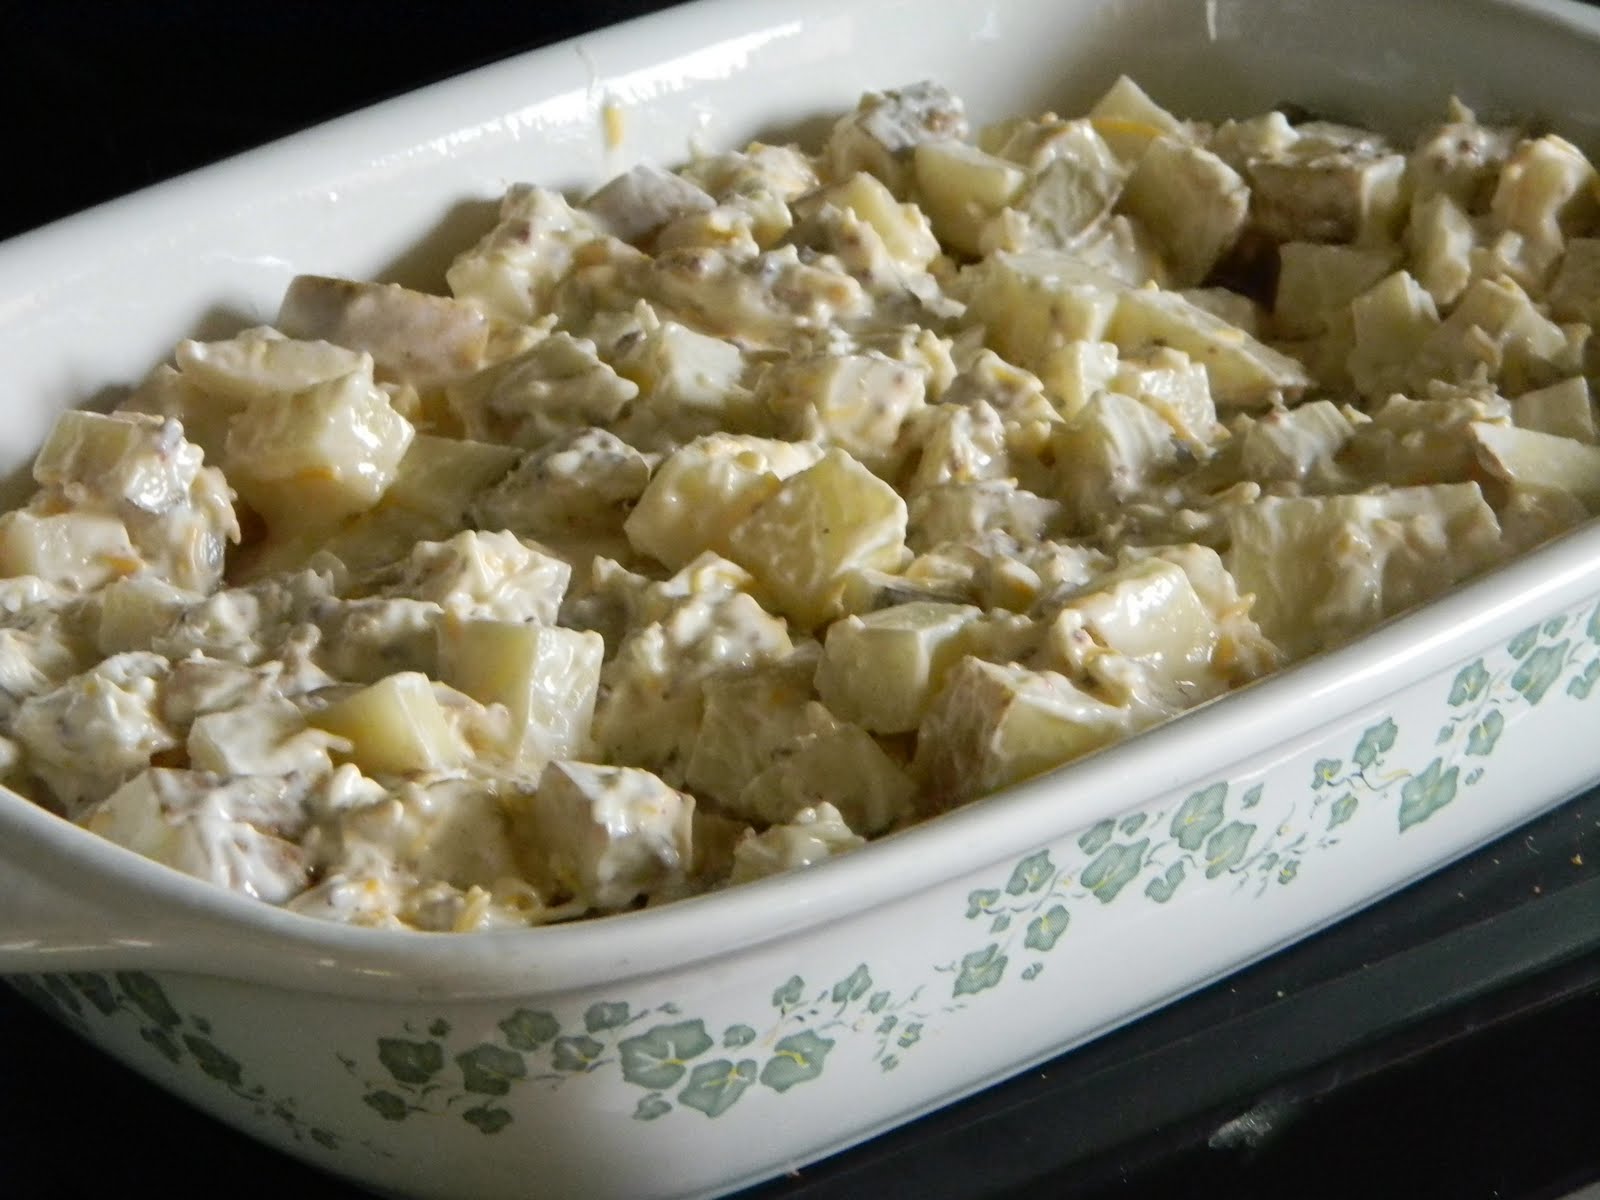
  
 I let everything bake for about an hour and a half.  How did it turn out?  DELICIOUS!  It was a great dinner.  Not bad for having to improvise last minute.  Goes to show you not everything goes as planned, but it wasn't hard to save the day! (or err.. dinner!)