Sunday, March 20, 2011

Lessons learned- but it tastes good!

Yes I did it, just as I mentioned I would. I tried my hand at homemade yogurt. Oh the lessons I've learned! I did a lot of research on the topic, and it seems there's a lot of good advice out there about it, just not all on one page. So hopefully I can help with some of that here and make it easier for you.

We go though buckets of yogurt at our house a week, everyone loves it. But the cost for it keeps going up and I recently acquired a lot of milk so I decided to try it. To be completely honest, its REALLY simple. But you are thinking, is it really that big of a savings? Normally when we shop we buy 4 quarts of yogurt every two weeks (like I said we go though buckets!) At $1.96 a quart, that's $15.86 a month just on yogurt. I can buy a gallon of milk for $2.39 right now and it makes 4 quarts, or $.60 a quart (or $4.80 a month for 8 quarts). That's about the price most pay for a single 6oz serving cup of yogurt. So there is a big savings here. Also I love knowing exactly what is going into my family's food, homemade tastes better and we reduce the amount of garbage we throw out and recycle each week by making our own.

Well here it is, Ma Bacon's adventure into homemade yogurt.
First you need some equipment.


* A large stock pot - big enough to hold your milk.
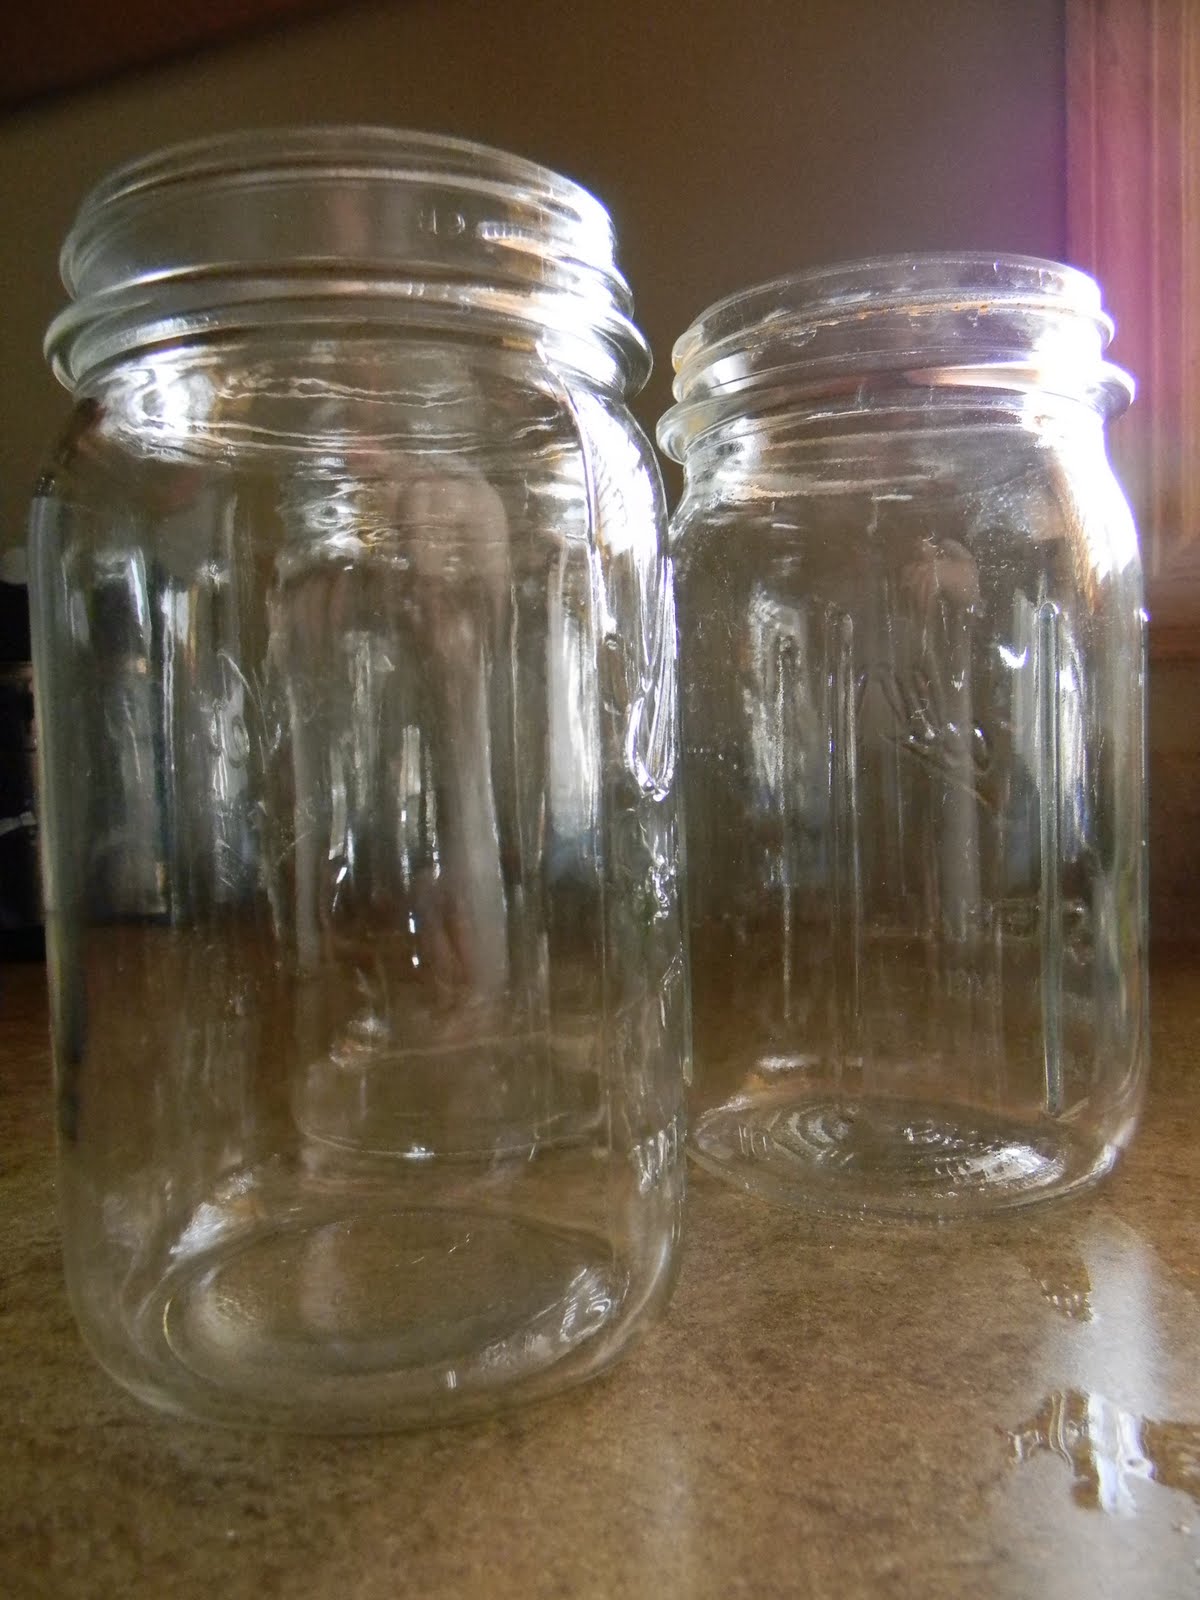
*glass quart size jars with lids and rims- I found quart canning jars great for this.
*Milk- any kind from skim to whole. My research has told me not to use milk with UHT (ultra high temperature pasteurization) As for the amount, that is up to you, this is another thing I like about homemade yogurt, you can make as little or as much as you like. The same amount of milk you use, is how much yogurt you will make.
*Thermometer
*Cooler big that will fit your quart jars
*One 6-8oz good yogurt for starter - I'll explain more later.

Now that you've found everything, it's time to get started.

First we want to sterilize our jars and lids. You can do this by placing them in a large stock pot and placing about an inch of water in the bottom. Bring the water to a boil and let the pot boil for 10 minutes. Remove the pot from the burner. If you don't need to use this pot to heat your yogurt, you can just leave the jars in there until you need them. If you don't have a large pot, you can run the jars, lids and rings though a hot cycle on your dishwasher.


Now that your jars are clean, lets get started on making that yogurt. Take your milk and pour it into a large pot. The first time I used a gallon of skim milk. I have to say I was a bit nervous to use the fat free milk and worrying about how it would set up. Most sites I found say to use whole milk, however there are those who commented that said their skim milk worked fine. So I decided to give it a shot since it's what I had at home.

Start to warm your milk, I started to heat mine around medium heat or a '6' on my stove. I stirred it often while it warmed with a whisk. You want to heat it slowly to 190*. This is scalding the milk, you don't want to boil it though so make sure you keep an eye on it. This was not an easy job to do a half hour before lunch time at our house, next time I'll make it when the kids are occupied better! Once you reach 190* turn down the heat on the stove. You want to maintain cooking the 190* milk for about 10 minutes. After 10 minutes, it's time to cool the milk back down.


The fastest way to cool the milk is in a sink of cold water. I filled my kitchen sink up and set the pan in it. I placed ice cubes around the pot too to help cool. Check the water temp, once it' starts getting warm remove some and add more cold water. Look at all the pretty steam. When you set your hot pot into the water there is a lot of steam of course, but I found the temperature difference will create a thick layer of milk on the bottom of the pan. Don't worry after about a minute I stirred the milk and was able to remove the layer of milk in one big chunk. Next time I make this, I'll be sure to take a picture so you can see what it's like. After about 5 minutes, check your milk. You want it to cool to 120* before adding your starter yogurt.


Once we have the milk cooled to 120*, it's time to add the starter yogurt. Now lets talk about that stater yogurt. There is a lot of talk about it when I did my research. Most of it points to the same direction, don't skim the pennies here. All the websites I went to said that you should spend the extra money and get a good quality name brand yogurt for your starter. There either hasn't been much luck with store brands or people just haven't tried it in fear their yogurt won't turn out. I decided I'd go with the flow on this one and bought some better yogurt. You want a higher fat if possible plain or vanilla yogurt with LIVE ACTIVE CULTURES. This is what is going to turn your milk into yogurt.

I used 6 ounces of yogurt to my one gallon of milk. Dump it in and mix it around thoroughly. This is important, you want all the starter yogurt to spread well though the milk. The active cultures needs to mix with the milk to make the yogurt. Once you have made a successful batch of homemade yogurt, you can use that as your starter. Take 6oz out right away, place it in a container and toss it in the freezer. This way you will make sure you have enough to start a new batch. You can do this for a few batches of yogurt. I've read over time that it will lose some of it's potency, and you will have to buy a new starter, but this should make 4-6 more batches before having to buy another little 6oz container.


Now if you want vanilla yogurt, you want to add your ingredients to this step. I made vanilla yogurt since I started with a vanilla starter and the kids really like vanilla. Once my starter was mixed in I add 3/4 cup sugar and 1 TBSP vanilla extract to the milk. You can adjust it to your taste here. Next time I make it I'll stick to the 3/4 cup sugar, but I think I'll increase the vanilla to 1.5-2 TBSP.


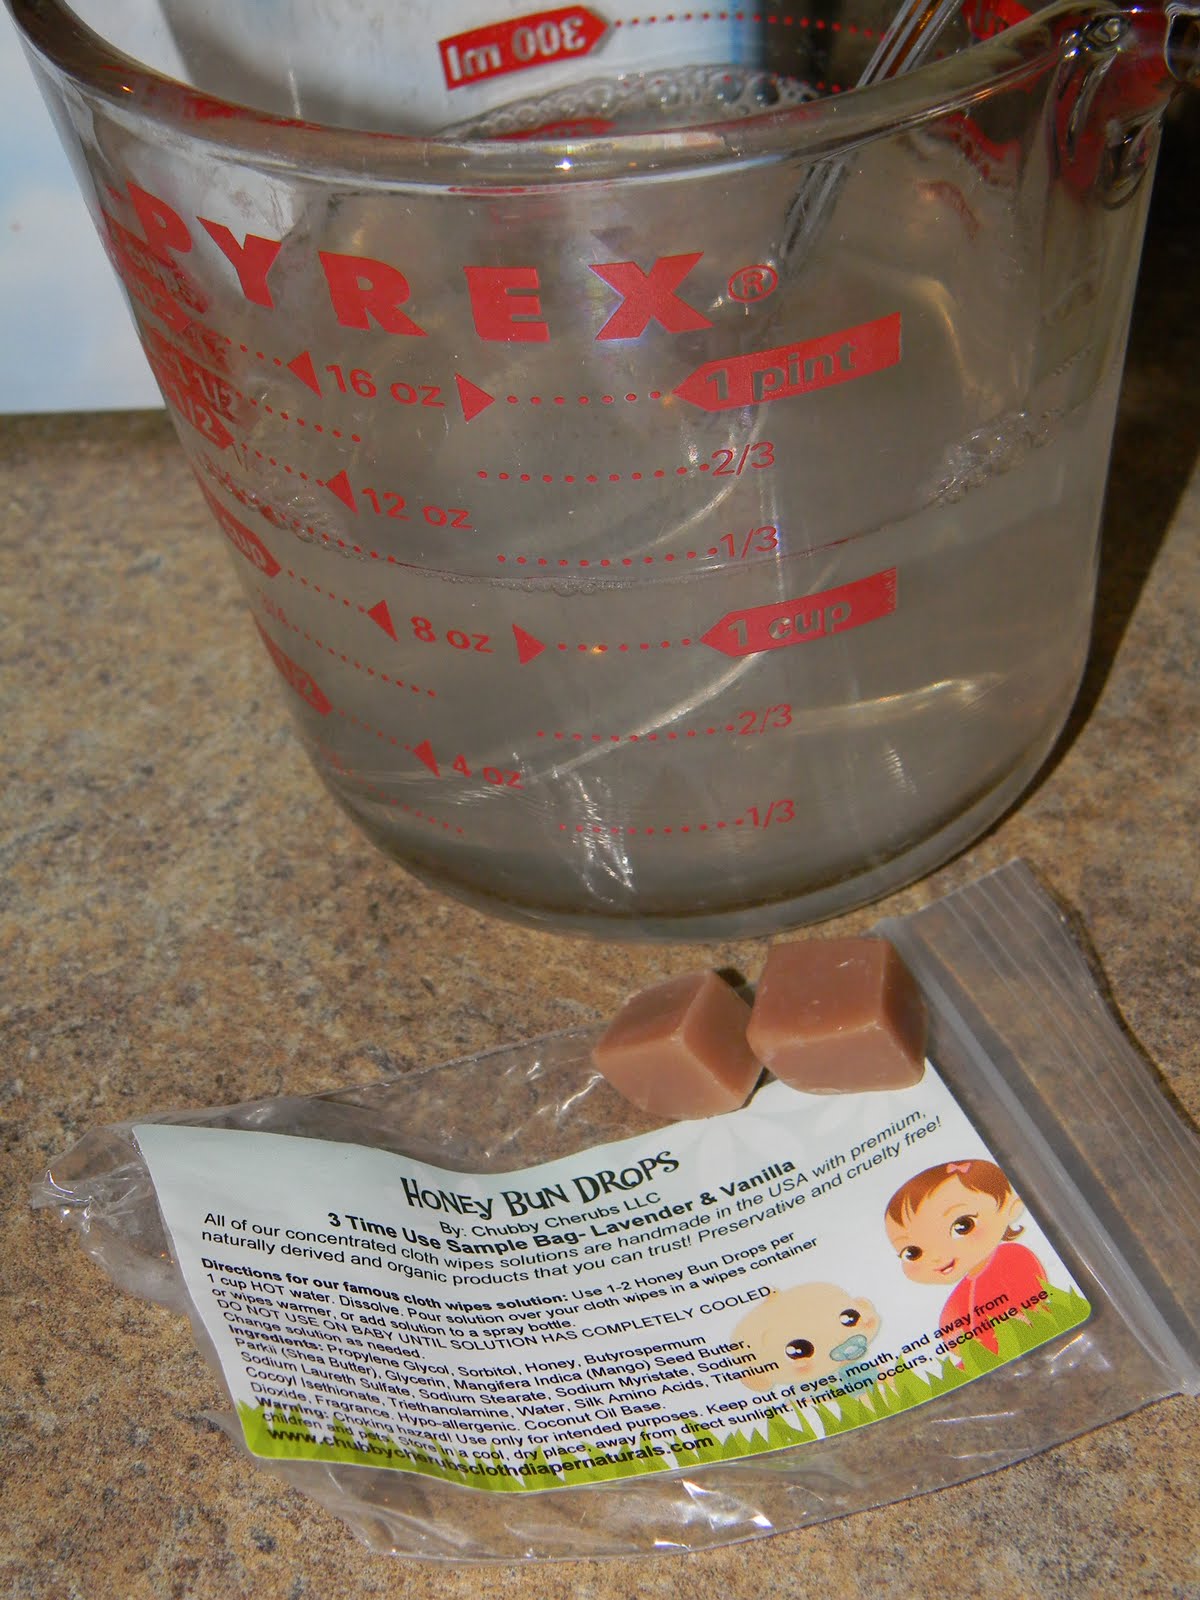
Once everything is mixed to how you want it, It's time to put it in the jars. I strain mine just to make sure there are no chunks in it. I placed a wire strainer over the top of my jars and poured. Oh the pouring, here's another tip I used, I poured my milk from the pot into a large measuring cup. This makes it SO much easier to pour into the jars then and less spilling all over the place. For some reason I had a lot of extra liquid left over, I'm not sure how 4 quarts of milk make over 4 quarts of yogurt. I didn't add in that much extra, but I had enough that I could probably fill up a pint jar or so.

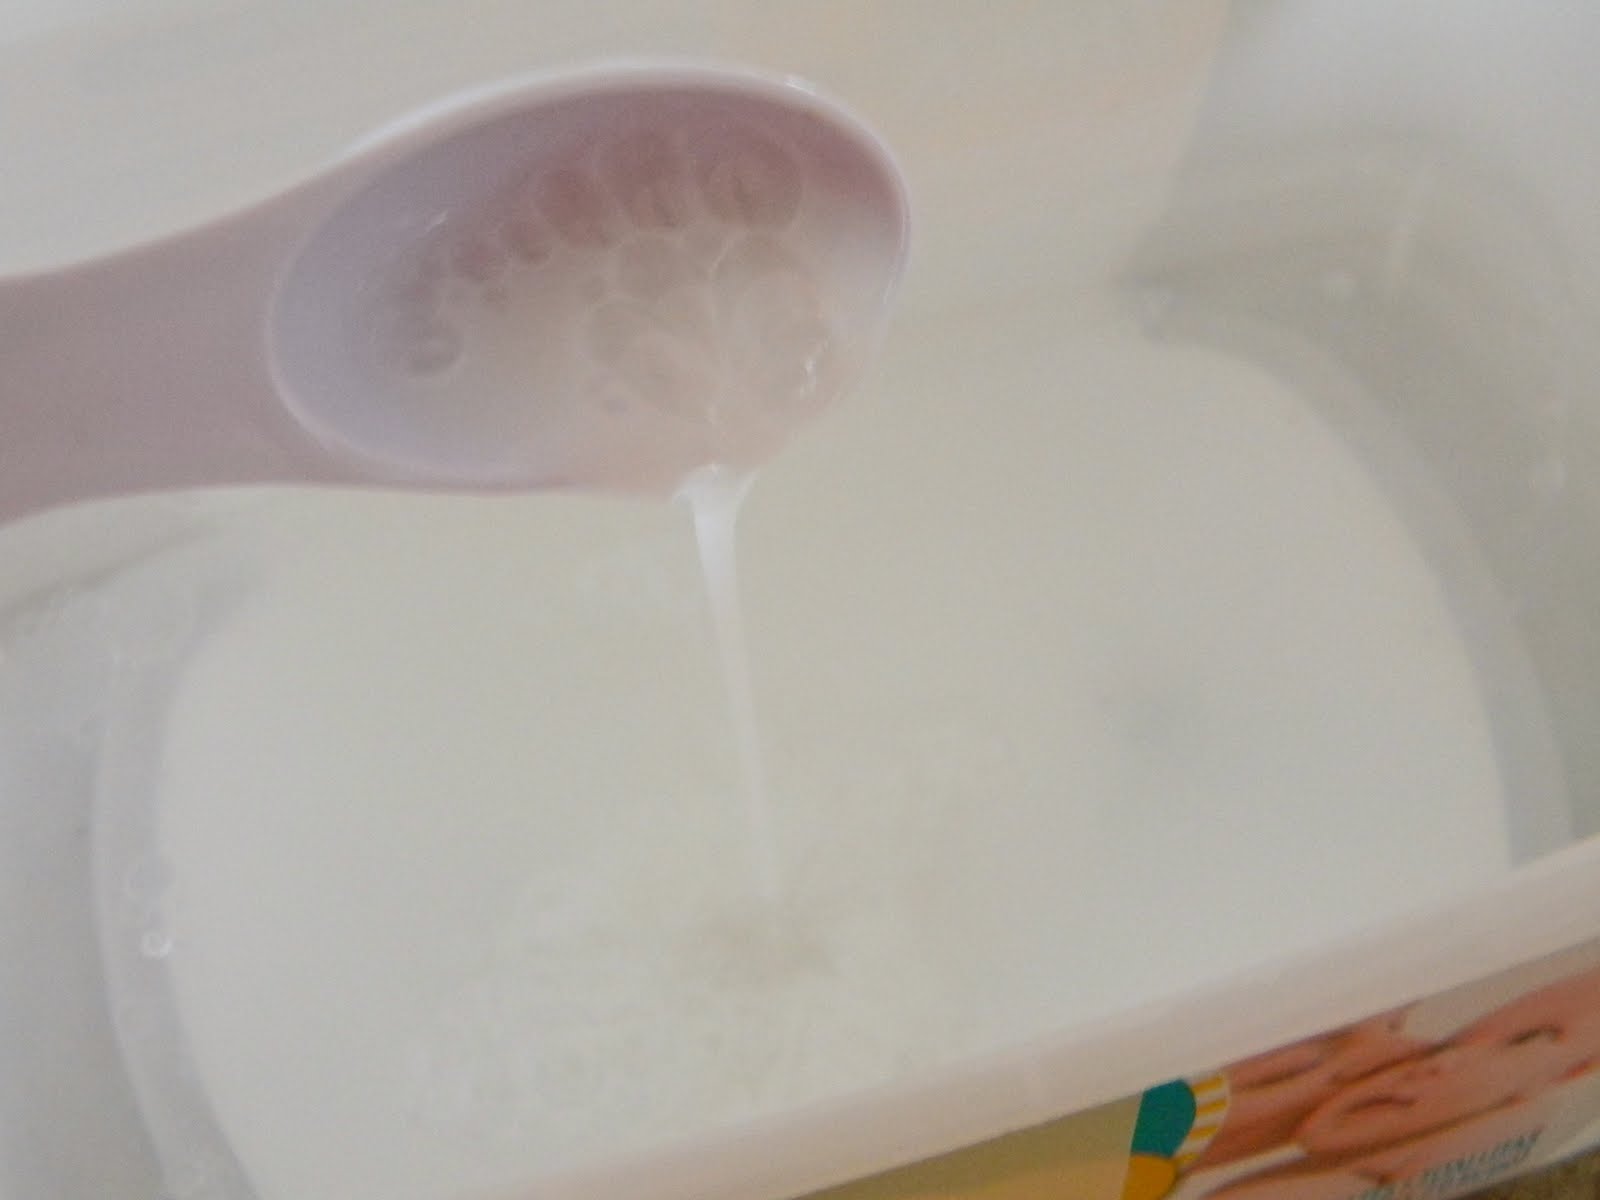
Once you've filled up your jars, you might want to skim off the bubbles. This isn't necessary, but helps with the yogurt's texture. I just took a spoon and scooped them off. See, no more bubbles!


Place the lids and rings on them and they are ready to incubate. This is where your cooler comes into play. I took my cooler and pre-warmed it first, especially since it was sitting out in our cold garage. I place it in the bath tub and filled it with hot water while I made the yogurt. Before I placed my jars in it I dumped the water out so I started with a warm cooler. Place the jars in there and now add more water. This water should be about 120*. Our water from our tap comes out a lot hotter than 120* I found out. Turning it down will be something for the honey-do list. I added one gallon of 120* water to the cooler, next time I'll add 2 gallons to make sure the jars are covered better. You want water to be about to the bottom of the jar lids. Close the cooler and let it sit for 4 hours. (wall froggies not necessary!) I left my cooler right in the bath tub, it was one place I didn't think the kids would bother it. Also it made dumping the water out later a lot easier. Where you leave the cooler doesn't matter so much as long as it's a draft free place. So don't place it next to an open window or cold door.


After the four hours is up, it's time to move your yogurt. The exact time it needs to incubate in the cooler is a guess. I've read anywhere from 3- 10 hours are needed. Most say about 4 hours. I have read too the longer it sits the thicker it will get, but also the more tangy tasting it will be. This isn't an exact science, and I think next time I'll play around with the time I leave it in there.

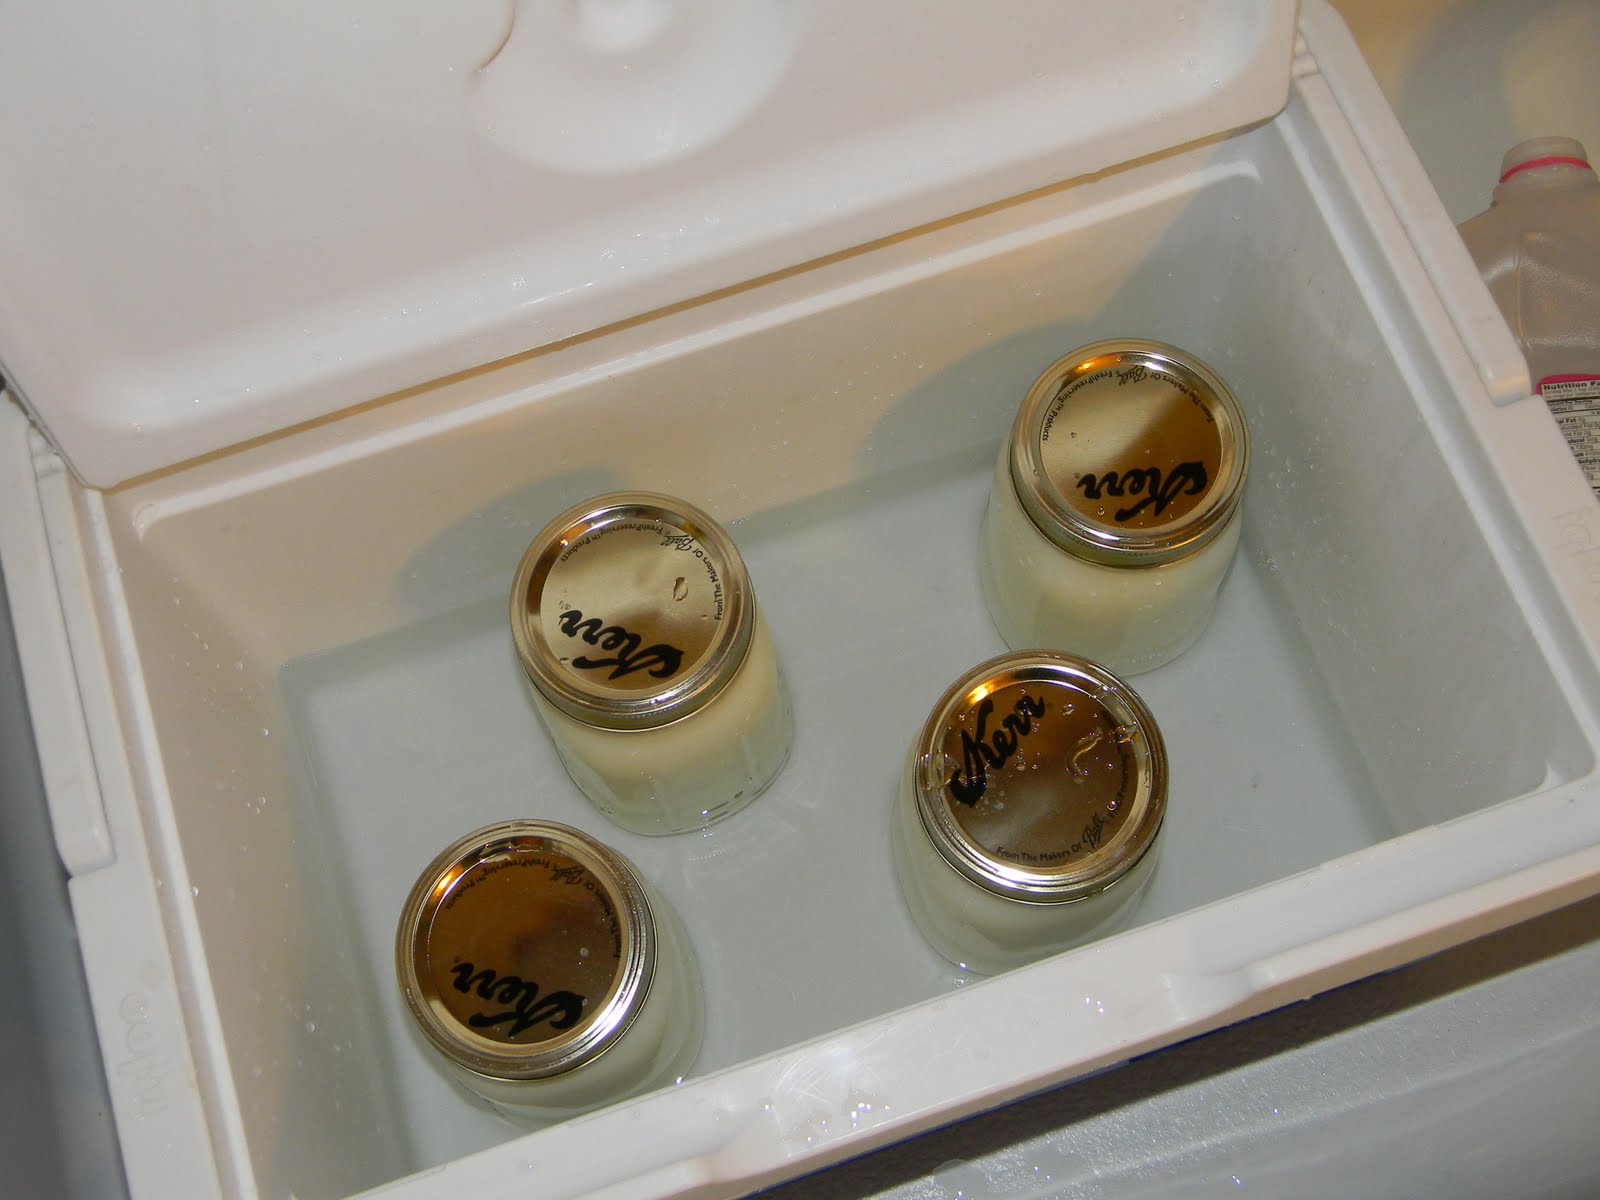
Now this is where I made some mistakes (yup, I'm not perfect!) I decided to take one of my jars and test it out. I pulled it out of the water and tipped it a bit to see how thick it was. It wasn't quite as runny as milk, but not as think as store bought yogurt, somewhere in between. I even opened one jar up and mixed it around to see what happened during it's 4 hours in hiding. One note on the jars I didn't touch, the lids sealed down like what happens during a canning process. Just because they are sealed does not make them self stable. But this will make them last longer in the fridge so it's best to not open all of them up! Opened jars of yogurt will last for 1-2 weeks in the fridge, unopened can last up to 4 weeks!

They look so pretty don't they?!

The yogurt looked kinda 'sludgy'. What a fun word huh?! Everything I read said it will firm up more in the fridge so that's what I did. I put the top back on the first jar
and placed all of them in the fridge. I put mine to the back where i know it's the coldest. The other jars I left untouched, I didn't even shake them like a present waiting for Christmas morning.


The next day I re-opened my tester jar. The yogurt was thicker but not store bought thick. I was expecting this since all the research said homemade yogurt would be a bit thinner since there are not as many additives. Also this is expected to be thinner with low fat milk vs. whole milk. None the less, it still tasted delicious. There was also a layer of liquid on the top. Don't worry this is normal, it's whey from the yogurt separating. You can either pour it off or mix it back in. We just mix it in, just like when it happens to our store bought yogurt. Another thing you can do if your yogurt is too runny is strain it. You can line a drainer with cheesecloth or a coffee filter and place your yogurt in it. Let the whey drain off. The longer you let it drain, the thicker the yogurt. This will become the consistency of greek yogurt.

We ate up that jar within 2 days it was that good. Now if you're not much for a plain or vanilla yogurt eater, no problem. The boys liked theirs with some strawberry jam mixed in, I like mine with some honey or maple syrup, or tossing in a handful or raisins and dried cranberries. I found mashing a banana and mixing it to be wonderful too! The possibilities are endless.


Since we finished the first jar so fast, we cracked open a second. And to my delightful surprise, it was creamy and thick! Just like store bought yogurt. So the lesson learned, don't play around with the yogurt! Take them right from the cooler of water and place them in the fridge untouched and unopened. This will help create a thicker yogurt. Mine now looks like the low fat yogurt you buy at the store.


So there you have it, homemade yogurt. Saves money, tastes yummy, and it's so good for you. I'm going to keep making it and hoping to perfect the recipe. I'll keep sharing my findings so you can make it at home too!


I have updated my process after my first attempt. You can check out what I did different here! Enjoy!

EDITED:
I have found that making yogurt is very forgiving over the past few months of making this recipe. I've been making 'mommy yogurt' as Little Miss Bacon calls it, at least twice a month now.  I have had many readers ask questions and I wanted to put a few things on here to help out others that might have the same questions. 


*Do I need to recheck the water bath temp after I place the jars in it? 
-Nope!  I have never re-checked the water bath temp to make sure it stays at 120*. I put the jars in the hot water and close the cooler and don't peek at all.  When I take the jars out I know the water has cooled some. I have never re-checked the temp on it but I can tell just by touching the water it's not as hot as when I put the jars in. I've never had a problem with the yogurt from the water cooling.


*I left my yogurt sit longer than 4 hours, will it still be ok?
-YES! I have found many times I forget to pull the yogurt out of the water bath and it always turns out fine.  Actually though these little mistakes I have found that letting the yogurt sit for 7-8 hours makes the best thick yogurt!  So now I always let it sit longer.  Sometimes I let it go overnight if I'm making it late at night.  Always good yogurt! 


*Whole milk makes the thickest yogurt. 

*Can I use a sugar substitute? 
-Yes! I have had a reader report back to me that she has successfully made the yogurt using stevia in place of sugar for vanilla yogurt.  Also Since my kids are so sweet already, I have scaled my sugar back to 1/2 cup per gallon of milk used.  No one has noticed a difference in the vanilla yogurt!

*I live in high altitudes, can I still make yogurt?
-I'm happy to report a few readers have been brave to try this for me and report back.  They have had success with warming the milk to 170-180* and had the yogurt turn out.  They did say that it took the yogurt a long time to reach that point (about an hour) but was worth it for cheap, delicious, homemade yogurt!

THANK YOU to all my readers who have used my recipe and passed it on! This is the most looked at recipe on my blog. I'm happy I have helped so many venture into homemade yogurt.  And thanks to all those readers who have wrote to me letting me know the variations they have tried to make this yogurt work for them! I love hearing your stories.

Friday, March 18, 2011

"I do ECLAIR ... "

Yes, these will be 'Gone with the wind' too! We were out doing our shopping at Sam's Club, and there they were. All cute and delicious looking, staring back at us....chocolate eclairs. Oh how Mr. Bacon and I wanted to splurge on a treat. But at almost $10 for a small pan of them? Really, you know Ma Bacon well enough by now that I just couldn't swallow that price. Especially when I know I can make them cheaper. So I dug out my recipe for them and got to work. Now this is another one of those recipes that look WAY harder than they really are. I was intimidated the first time I made them, and then when I was done, I said- well that was too easy! And they are just too good to NOT try to make!

Here's what you need:

Chocolate Eclairs
1/2 cup butter
1 cup water
1 cup flour
1/4 tsp salt
4 eggs

Filling:
1- 3oz box instant vanilla pudding
1 3/4 cups milk
1 cup heavy cream
1/2 cup powder sugar
1 tsp vanilla extract

Chocolate Glaze:
2 oz (about 1/3) cup chocolate chips
2 TBSP butter
1 cup powdered sugar
1 tsp vanilla
2-3 TBSP hot water

Heat your oven to 425*.
First start off by melting your butter in water on the stove. When butter has melted and starts to boil, add in 1 cup flour and salt. Stir like crazy until a ball of dough forms!


Take the pan off the heat and add in the eggs, one at a time and mix well between each egg. Your dough will become glossy when you first start to mix the egg in, keep mixing until you don't see the glossy dough anymore.

Take a ball of dough and form it into a rope about 2"x 1" for mini eclairs (for us everything tastes better when it's in cute bite size!), or 1.5"x4" for larger eclairs and place it on a cookie sheet. No I don't have time to sit with a ruler and actually measure what I put on the pan either, I just guess! The dough might be a bit sticky to work with, I found running my hands under water (don't dry them) and then shaping the dough to work well. Repeat until all the dough is used up.

Bake 15min at 425*, then reduce the heat to 325* and bake for another 20 minutes. For minis, bake 425 for 10 min, then reduce to 325* for another 10 minutes. Watch them no matter what size you make, when they puff up between 2-3 times their size and turn golden brown it's time to take them out of the oven. Once baked, place them on a wire rack to cool.


While these are baking you can mix up the filling. In bowl mix up pudding and 1 3/4 cups milk. Little boy Bacon was happy to help mommy with this step! In mixer beat cream, 1/2 cup powder sugar and 1 tsp vanilla until soft peaks form. Does this step sound like a lot of work? If so it's ok- that's why they make cool whip too! Save yourself the work if you'd like. Next take the pudding and whipped cream and mix them together.


Filling is done! You can put it in the fridge to firm up a bit before filling the eclairs. I did find this makes a TON of filing, enough for a second batch. If you don't want to make 2 batches of eclairs (they freeze really well too!) this tastes yummy on it's own. Add some diced bananas and graham cracker crumbs for a great snack for the kids (or yourself- shhh... I won't tell anyone!)

Once the Eclairs are cooled, it's time to fill them. I find filling them first to be less mess, if you'd like to frost them first that's ok too. Sometimes if I fill first, then frost some of the filling squishes out.

I used my pastry bag with a no. 10 tip to pipe the filling inside the eclairs, taking a knife to one end first to create a hole for the filling. If you don't have a pastry bag, no problem, you can just cut a slit in the top or cut the eclair in half and spoon in the filling too. Both are just as tasty.

Once filled now it's time for frosting. In microwave safe bowl or sauce pan on stove, combine chocolate chips and butter. Once melted mix in powdered sugar, vanilla and enough water to make the frosting glaze consistency (a bit runny). Dip the tops of the eclairs in glaze and set them back on wire rack to drip off. Place in storage container with lid and keep in the fridge- that is if they actually make it that far! Can you guess how long ours lasted?


Monday, March 14, 2011

Wipes: Not just for bottoms anymore

What can't you use a baby wipe for?! I love baby wipes, I've been using them for 8 years and I really don't see myself giving them up even once we are out of the diaper stage. But one thing is I hate the price. So along with my cloth diapers, I've been using reusable baby wipes sometimes. Yea- not all the time, we had quite a stock pile of baby wipes before Bacon Bit arrived! Making your own cloth wipes is super easy to do and they will save you money and you know what is in your baby wipes. (did you know it's quite a process to make baby wipes! I got curious and found this). We're not new to making our own wipes here. In fact that's one thing we have made since Bacon Jr. was quite little. But this is the first time we are using reusable cloth wipes. In the past we would make cheap disposable baby wipes using paper towels. Either one will save you money at the store!

You can make your own wipes solution or buy the good smelling little soap bits from a lot of places on the web and etsy. Pretty much anywhere that sells cloth diapers will sell some type of cloth wipe solution. I received a sample of some soap bits when I ordered some of my diapers. I had to try it out.


They are vanilla lavender scent and they smell amazing! One bit to 2 cups of hot water and just wait for it to dissolve. Pour the solution over your wipes or in a spray bottle and you are ready to go. But you don't have to buy the special soap. You can mix your own. I found this recipe a long time ago and used it a lot.

Baby wipe solution:
2 cups warm water
1 tbsp baby oil
2 tbsp baby wash

Mix together and pour over wipes or in spray bottle.
I like this because you can use any kind of baby soap you want or change the scent as you wish.

Now I mentioned earlier that you can make wipes from paper towels too. I like keeping a tub of these kind in the car for those sticky messes. To make wipes from paper towels, take a paper towel roll and cut it in half so it looks like you have two toilet paper rolls. I accomplish this by taking out my trusty electric carving knife. It's the only thing we've used it for since we got it as a wedding gift so many years ago! Don't have an electric knife, no problem. A regular kitchen knife works too- just takes a bit longer. Either way will create some mess from cutting though, but a little elbow grease now will save money in your pockets later!


Pour your solution into your wipes container. Mix it around a bit too. Then squish your paper towel roll down a bit to fit in the container. You might not have to do this step depending on how big your container is.


Stick the paper towel roll into the solution and let it start to absorb some liquid. Then take it and flip it over so the dry side is in the liquid. Then close the lid and let it sit for a few minutes.


Once they've rested for a bit, now it's time to get the cardboard center out. Grab it with your fingers and pull it out. Some paper towels might come with, it's ok, this is where they are suppose to dispense from! Gently pull the wipes from the center. If they are still dry when you pull them out, no problem, just leave them in the container and it will absorb the liquid.


TADA! Homemade baby wipes. This batch is going straight out to the bacon mobile!

Another bonus with this solution recipe is that you can change it to how you want, need more or less water no problem. Got too much solution, just squeeze the roll out over the sink. Too oily or soapy, you can change the amounts to what works for you!

***

So I like my cloth wipes. Not just for Bacon bit's butt, but to wash up his messy fingers after he ate (and the other kids as well!). But what was best to use for a reusable wipe? I did some digging. There are lots of kinds out there, many you can make yourself with a sewing machine. Mine however happens to be in the shop... again. So I decided to just use the giant stack of baby washcloths I had laying around the house. How I got so many I don't know, I'm starting to think they reproduce on their own. Another cheap idea is to take some of the flannel receiving blankets you have laying around and cut them into 8x8 inch squares and use those too.

While researching all of this, I came across a way to make the wipes pop out of the container like store bought wipes do. I had to try it out! Anything to make my life easier and I got to reuse some of those containers I had laying around. Here's how:

First lay one wash cloth on the table, then overlap the second wash cloth by half. Next fold the first washcloth over the second one you put down.

Then take another wash cloth and place half of it on the stack and half off like this.


Keep repeating this process until you have a stack tall enough to fill your wipes container.


Set them in and pour your wipes solution over the top of them and let them sit to cool and until all the wash cloths absorb the liquid. Stick the top wash cloth though the pop up hole on the wipes container and use as you would store bought wipes! I love to leave a container on the counter to wipe up the kids. I hate washing their little fingers and faces with the dish cloth we used to wash the dirty dishes and wipe up messes from the counters and it will save you money from buying paper towels too.

So there you go. Save yourself some bacon for your pockets by making your own baby wipes. What do you use wipes for? Got any tips of your own?

Keep checking back. I have more in store for this month. I happened to find some pictures of delicious looking (and tasting!) Chocolate Eclairs on my camera when I was pulling pictures off for this post. Also I'm going to be trying my hand at homemade yogurt! I'll post whether it was a flop or not!

Monday, March 7, 2011

Do you want to buy a coffee shop?


Last week was the final week before our little coffee shop in town closed. I can tell you we were not frequent visitors though, can you guess why? The cost! But we did have 2 gift cards to there that had to get used up before it changes hands. So Mr. Bacon treated me all last week to chocolate turtle coffee in the morning. YUM! They were so good, it's probably a good thing they are closed now! My pocket book for sure wouldn't be able to keep up since just a small was $3.50! Sigh... but they were good. And I kinda missed the turtle drinks over the weekend. So I set out to find my own version I could make for pennies at home. Guess what, I found one! Mr. Bacon approved and we've been sipping on them all morning. I just had to hop on here and let my readers know how they can get an amazing coffee house drink right at home for cheap. Oh and the other good news, no special machines or equipment needed!


Here is what you need:
Milk
Vanilla carmel coffee creamer
Chocolate ice cream topping


Oh and some coffee. You can use espresso if you have it, I don't. So I just used regular coffee. You can add more zip in your coffee by making a small 4 cup pot and brewing double strength coffee (use double the coffee). We tried this before bed last night, lets just say extra caffeine at night time for Ma Bacon isn't the best idea!

Take a regular size coffee mug and place 1 TBSP vanilla carmel coffee creamer and 1.5 TBSP chocolate ice cream syrup in the bottom of the mug. Next fill the cup so it's half full of coffee and mix well.

Now you need to prepare your frothy milk. Take a 16oz container that has a lid. A pint canning jar works well for this. Add in 1/2 cup milk (any kind works, we prefer to drink skim here and I'm sure it helps cut some of the calories out of this drink too). Screw the lid on the jar and shake it vigorously for 30-45 seconds until the milk doubles in size. Little Miss Bacon was quite happy to help with this step.

Next unscrew and remove the lid. Place the jar in the microwave for about 30 seconds. Watch this carefully, you want the foam to rise to the top of the jar, but not overflow it!

Carefully remove the jar. It should be warm but not so hot you need to use a hot pad to take it out. With a spoon carefully hold back the foam and pour the hot milk into your coffee drink. Mix well. Now you can spoon the foam on top of the coffee. I like to mix some if it into the coffee and add an extra scoop to the top! If I had some cool-whip I would have added a dollop of that to the top as well, perhaps a drizzle of more chocolate too!


I guess there is no need for us to buy that coffee shop after all. Fast, delicious coffee treat for pennies instead of paying the big bucks for it! ENJOY!