 Ahhh.... I love that sound. It makes me smile. Why? Because it means I've once again had a successful canning session. This time it was peaches. Lots and lots of peaches! I hit a great sale on them and I decided to make a lot of work for myself. How much work? About 35 pounds worth! But it is worth every minute to have delicious cheap peaches all year long. My favorite way to eat them, with cottage cheese! YUM. Yes this is another one of what my family would call 'odd' foods I eat. All our kids enjoy them right out of the jar but their favorite part is the juice! They can't wait until we empty another jar of peaches so they can drink the juice that is left in it! So you want to make your own delicious peaches to enjoy all year long? But you're afraid of canning? It can seem challenging, a lot like working with yeast. But I will tell you it's not that painful, it's actually easy! And once you get the hang of it, you'll enjoy it so much you'll start looking around for what else you can cram into glass jars and seal for another day!
So where to start, first you need some supplies. Canning jars are one. Back when Mr. Bacon and I decided to venture into canning, we needed to find jars, for cheap. Looking at buying them at the store seemed like a budget burden at the time. Really it's not that bad, you can get a dozen jars for under $10 usually, but I had to search for a cheaper way. And I found one! Word of mouth works wonders. We let both our parents and several friends and family know we were looking for jars and they poured in. It seems there are many older people with boxes of these sitting in dusty basements just waiting for a new life. We still get asked if we are looking for more jars (and I never turn them down!). Take your jars and make sure they are nice and squeaky clean (the rings too). I place mine in the dishwasher and run a quick cycle.
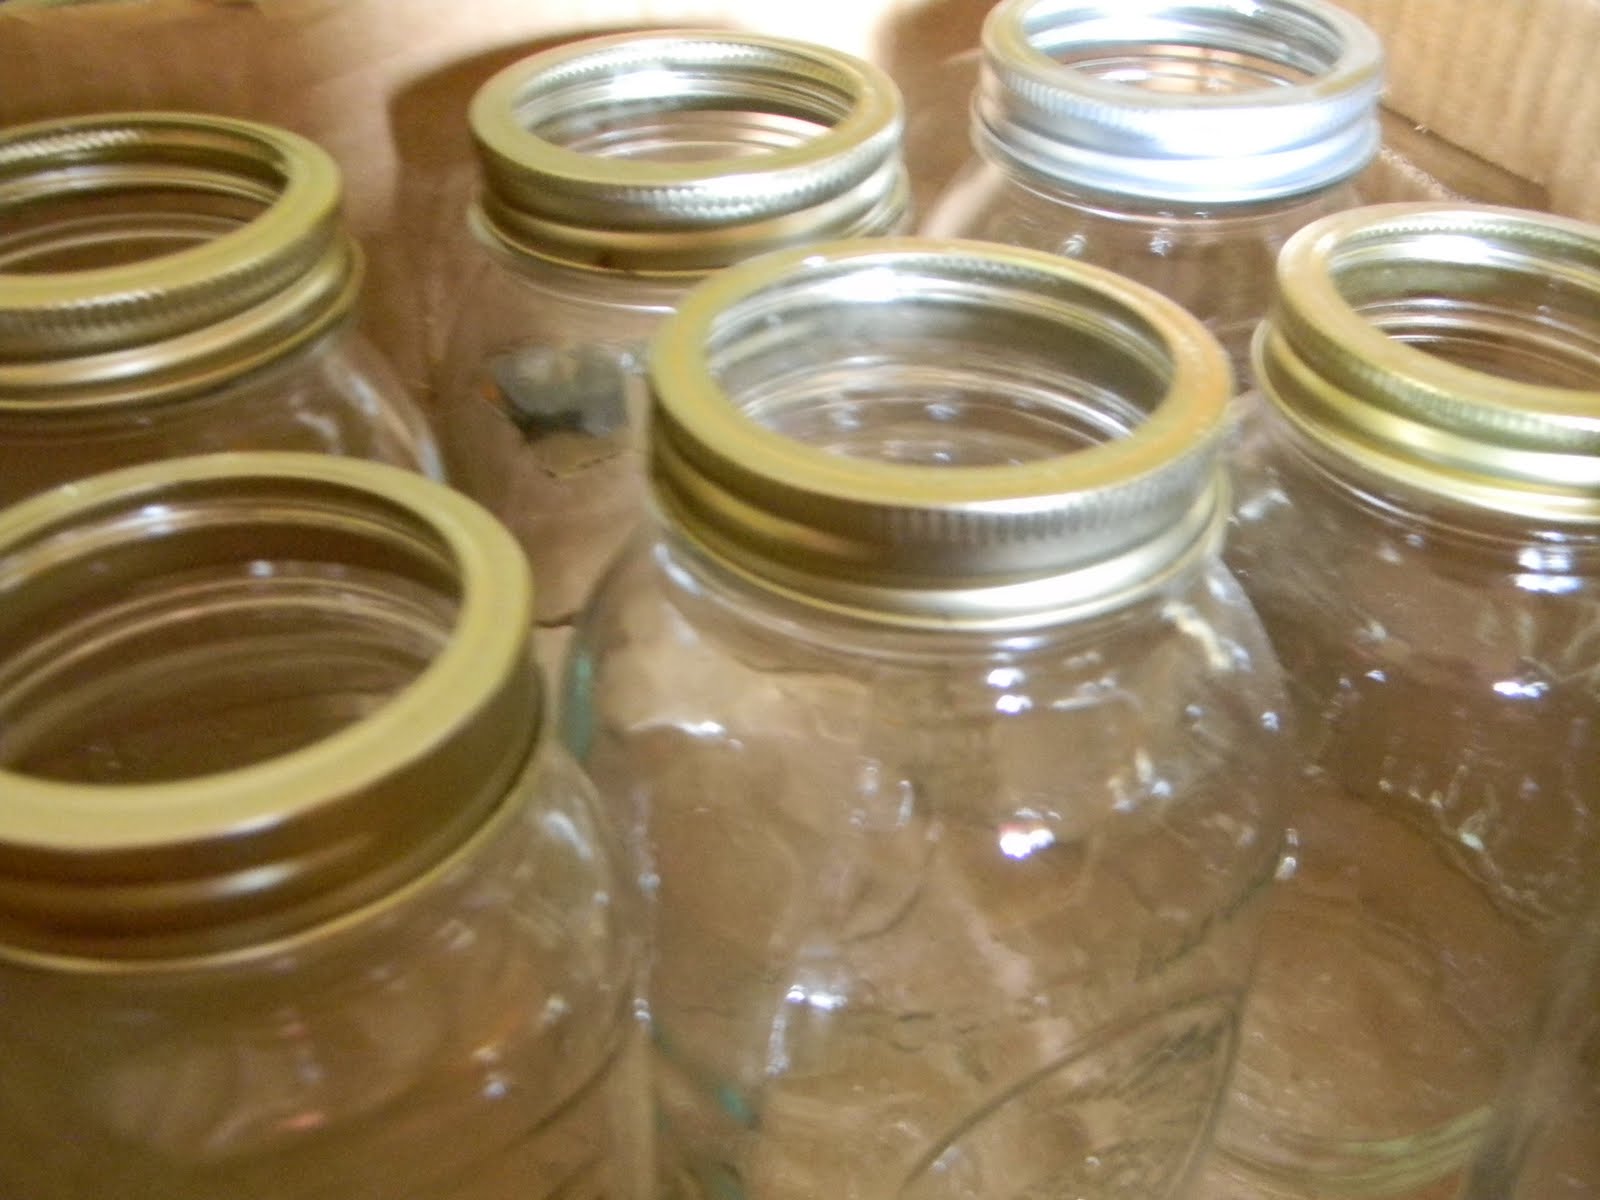

 Rings
RingsLids- always use new!
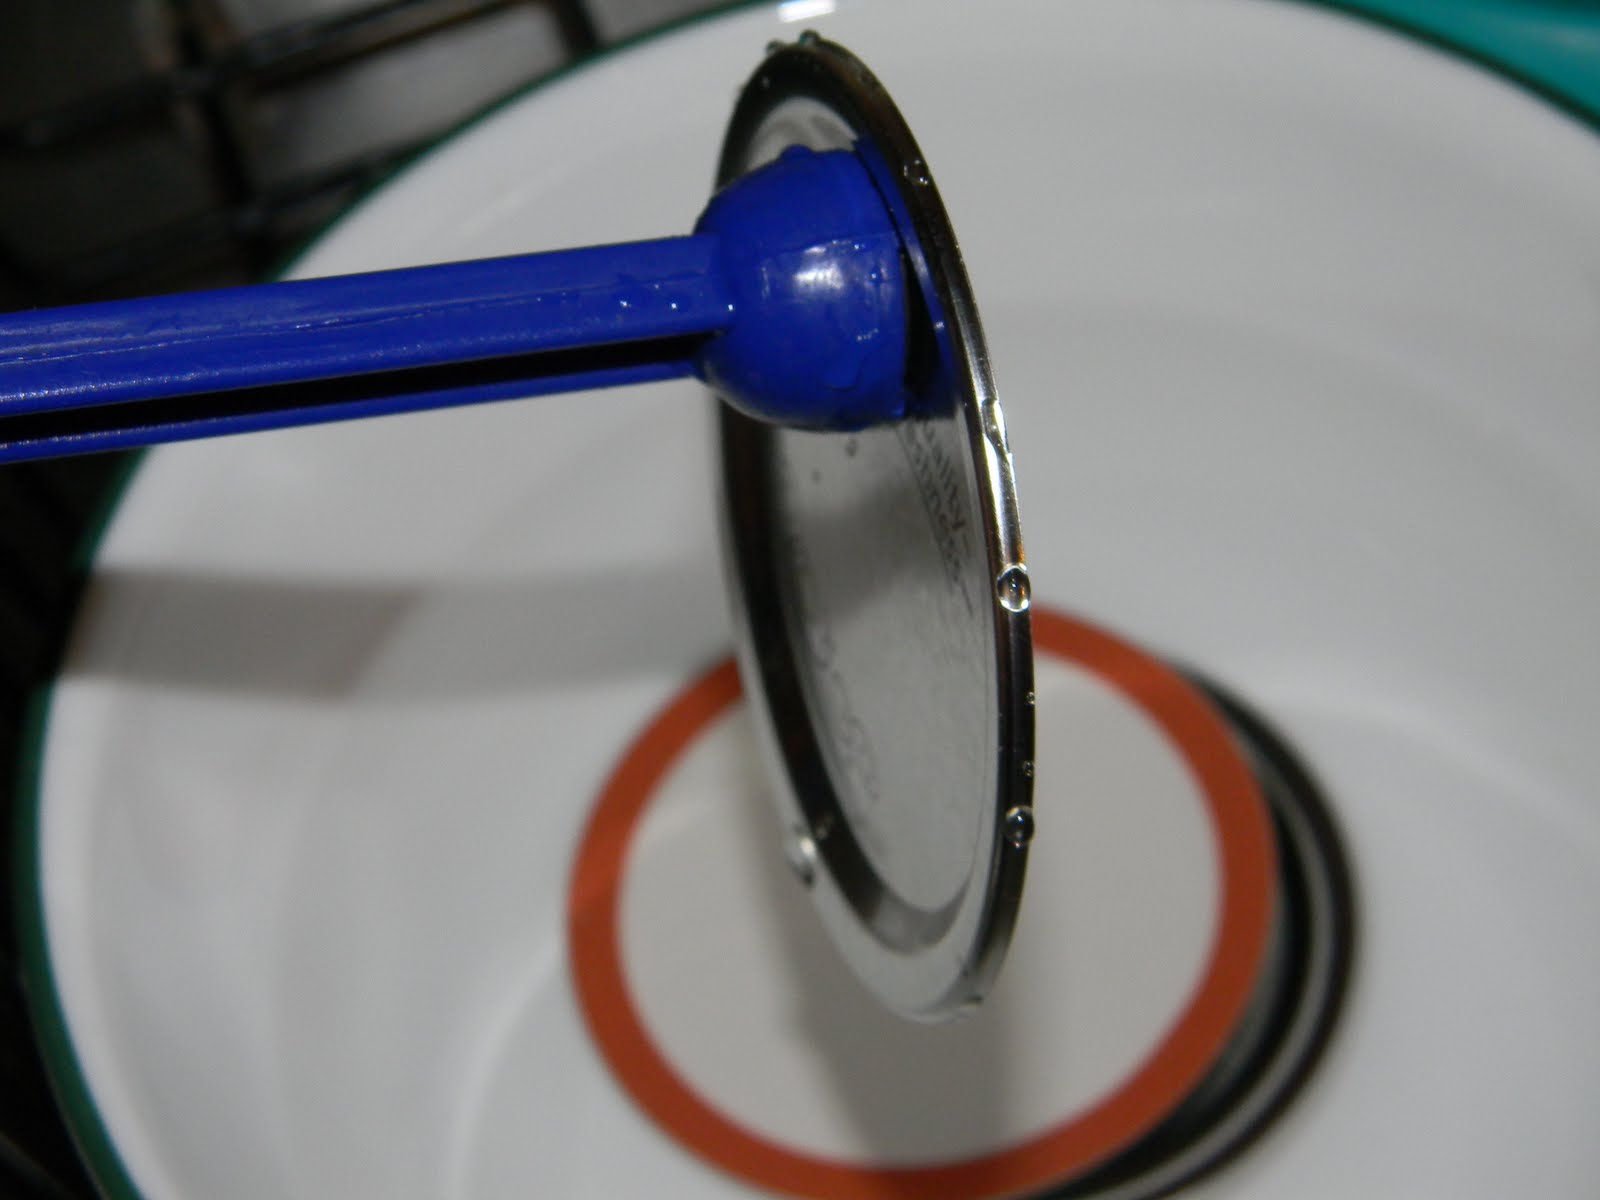
Canning tool kit
Large pot- one or two
A ladle
A few hot pads
some patience
several larger bowls and a few smaller ones
and a nice clean sink


Oh and don't forget your peaches! Here are mine waiting to jump in the jars. There are a few things to do to them first though.

Dump them in your sink and wash them. This should be a pretty easy step! I just spray them with the water sprayer.

Next it's time to get the skins off of them. OH don't forget to take all the stickers off too. This is a great job for the kids to do. It will keep them in on spot for a while too! While you are doing this, take one of your large pots ( I think mine are 8 quart size. I bought two pots a while ago just for canning) and fill it half full with water and bring it to a boil. Place your clean, sticker free peaches in a bowl. Dig out your favorite ladle too. Mine is a metal slotted one that was my Grandmas! Now that you have your ladle, fill up one sink with cold water. If you have some extra ice laying around toss that in as well! You'll need it in a minute.


Once your water is boiling, place your peaches in the pot for about 30 seconds. They don't need too long in their bath.


So now all the peaches are cut up, time to get the juice going. There are several types of juice you can place the peaches in. Some healthier than others, and some tastier. It's up to you. For us, I always use very light syrup to can the peaches in. This is done by placing 6 cups water and 1.5 cups sugar in a large pot (8 quart again). For this many peaches I had to do a double batch of syrup.
If you'd like little heavier syrup you can do 6 cups water to 2.5-3 cups sugar or even heavier syrup 6 cups water to 4 cups sugar. You can also use things like splenda or fruit juice to can the peaches in. I haven't tried that yet. If you'd like to I've linked to my favorite canning site here. While you are waiting for the water and sugar to dissolve and boil, take another small pot and warm up some water in there. This will be for your lids. The canning lids need to be warmed up a bit to help them seal well. I keep a pot on low with my lids in it so they are ready to go when I am. If you'd like you can also microwave a bowl of water for a few minutes, and then add the lids to it when it comes out. Just make sure your water doesn't cool while you wait.


Now it's time for their water bath again. I have a large water canning pot for this thanks to a wonderful family friend who was no longer caning. Again you can pick one of these up in the canning section of your store. Or if you have a very large pot like this around your house, it will work just fine too!


After I take them out of the water bath I let them sit on hot pads to cool. This is when you'll hear the fun 'PING'! Oh it's joy to my ears because it means that the lid has sealed on my jars. Sometimes I'll sit and count them just to make sure they've all sealed. Yes I live an exciting life!


I am so glad to see this post! Have you ever canned pears? Would you use the same syrup recipe to do it? Thank you!
ReplyDelete